All remaining NOAA POES satellites have been decomissioned. It is no longer possible to receive APT weather images from NOAA satellites with WXtoImg.
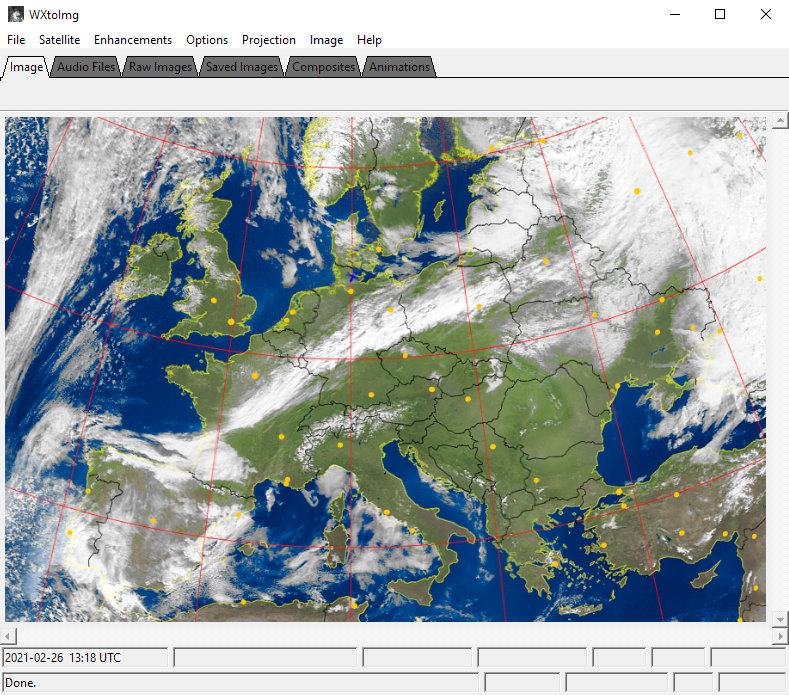
"WXtoImg is a fully automated APT and WEFAX weather satellite (wxsat) decoder. The software supports recording, decoding, editing, and viewing on all versions of Windows, Linux, and macOS. WXtoImg supports real-time decoding, map overlays, advanced colour enhancements, 3-D images, animations, multi-pass images, projection transformation (e.g. Mercator), text overlays, automated web page creation, temperature display, GPS interfacing, wide-area composite image creation and computer control for many weather satellite receivers."
- taken from the WXtoImg website.
Downloads
The latest stable version of WXtoImg is version 2.10.11. For Linux we recommend the last Beta version 2.11.2 which includes ALSA Audio support.
Important Information About Kepler Data
The built-in function of WXtoImg to update Kepler data has stopped working. Please follow the instructions in the dedicated section below for a permanent fix.
For Windows users we strongly recommend our custom pre-configured installation for ease-of-use. Please follow our installation notes when using the original installation instead.
Installation Notes
On Windows we strongly advise to use our pre-configured installation. If you want to use the original installation instead or you use Linux, please make sure to follow the steps below to correctly configure WXtoImg. If not configured correctly, WXtoImg will crash!
Configuring Original Installation
All remaining NOAA POES satellites have been decomissioned. It is no longer possible to receive weather images from NOAA satellites with WXtoImg. Therefore, after starting WXtoImg for the first time, please go to Options > Active APT Satellites and uncheck all NOAA satellites.
The last step is to update the Kepler data. As stated above, the internal functions of WXtoImg for updating Kepler data stopped working. You either need to update the data manually, or use one of the solutions from the section below.
Linux
On many Linux distributions Debian packages can be installed by double-clicking.
To install WXtoImg using the TAR.GZ archive instead, use the following command:
gunzip < wxtoimg-linux-amd64-2.11.2-beta.tar.gz | sudo sh -c “(cd /; tar -xvf -)”
To start the software with a graphical user interface type xwxtoimg.
We recommend to also install the ALSA Audio Mixer GUI using the command below. This makes the audio mixer available from within WXtoImg.
sudo apt-get install alsamixergui
Next, please follow the steps above under "Configuring Original Installation" to correctly configure WXtoImg.
macOS
WXtoImg for macOS is a 32-Bit application and therefore won't run on macOS 10.15 Catalina or newer.

Correct configuration of the Active APT Satellites options. All satellites have been decommisioned.
Manual
Additional information and an FAQ section can be found in the software's comprehensive Help menu and on the WXtoImg website.
Updating Kepler Data
WXtoImg's built-in function to update Kepler data no longer works, after the source of the data (celestrak.org) changed its top-level-domain. Since up-to-date Kepler data are imperative for the application to function properly, one of the permanent fixes presented below must be implemented to restore this functionality.
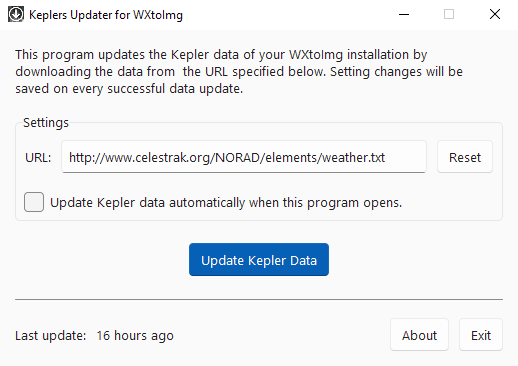
Keplers Updater for WXtoImg
Keplers Updater for WXtoImg is a tool we developed to replace the built-in function of WXtoImg to update Kepler data. It doesn't require any setup and is easy to use with a graphical user interface. It is compatible with Windows 7 and newer. Keplers Updater for WXtoImg is already included in our pre-configured installation.
To start the tool, unzip the file and double-click on Keplers-Updater.exe. To update the Kepler data, just press the Update Kepler Data button. The latest Kepler data will be downloaded and saved in the correct location. A more detailed description of the tool can be found on GitHub.
Keplers Updater for WXtoImg
Simplified Version, 32-Bit Compatible
We also created a simplified version of Keplers Updater that is compatible with Windows 32-bit, too. Use setup.exe to install the tool. It requires .NET Desktop Runtime 6.0.7 to run, which will be installed automatically.
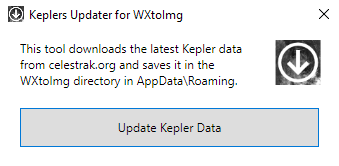
Simplified version of Keplers Updater